
What a week! I am so happy that this week’s wine tending was short and sweet. This week was adventurous enough getting through more of the blackberry harvest, jam making, starting to pick the silverberries, and having our first farm calf born (eeekkkkkk!), but today, Toby decided to scare me to death and start limping for no reason after 60 unsupervised seconds outside. I am happy to report that the vet said he was most likely just stung by something and he couldn’t find any evidence of a break or a snake bite. My vets are saints and not once called me paranoid. I think Toby just wanted a field trip to the vet! Regardless, I am so grateful that it was nothing worse. My favorite saying around here is that God looks out for idiots!
Ok, back to the wine, because clearly I need it! For week two of wine making , all that needs to be done is to strain out the berries through a sieve and cheesecloth into your fancy dancy new FerMonster from The Vintage Shop (trust me, I wish I had made the name up), add sugar, and get to watching it bubble! No, the FerMonster isnt required per se, but so far they seem like the bees knees!
The berries have been getting digested by the yeast for 7 days at this point, so they are fairly mushy. Run the batch through cheesecloth lain over a sieve and press the juice out. Last year, we wrung the berries completely dry. However, this resulted in a LOT of sediment that we had to siphon off later and the wine still held particulates when bottled. So my advice is to gently press the fruit but sacrifice some juice for less sediment.
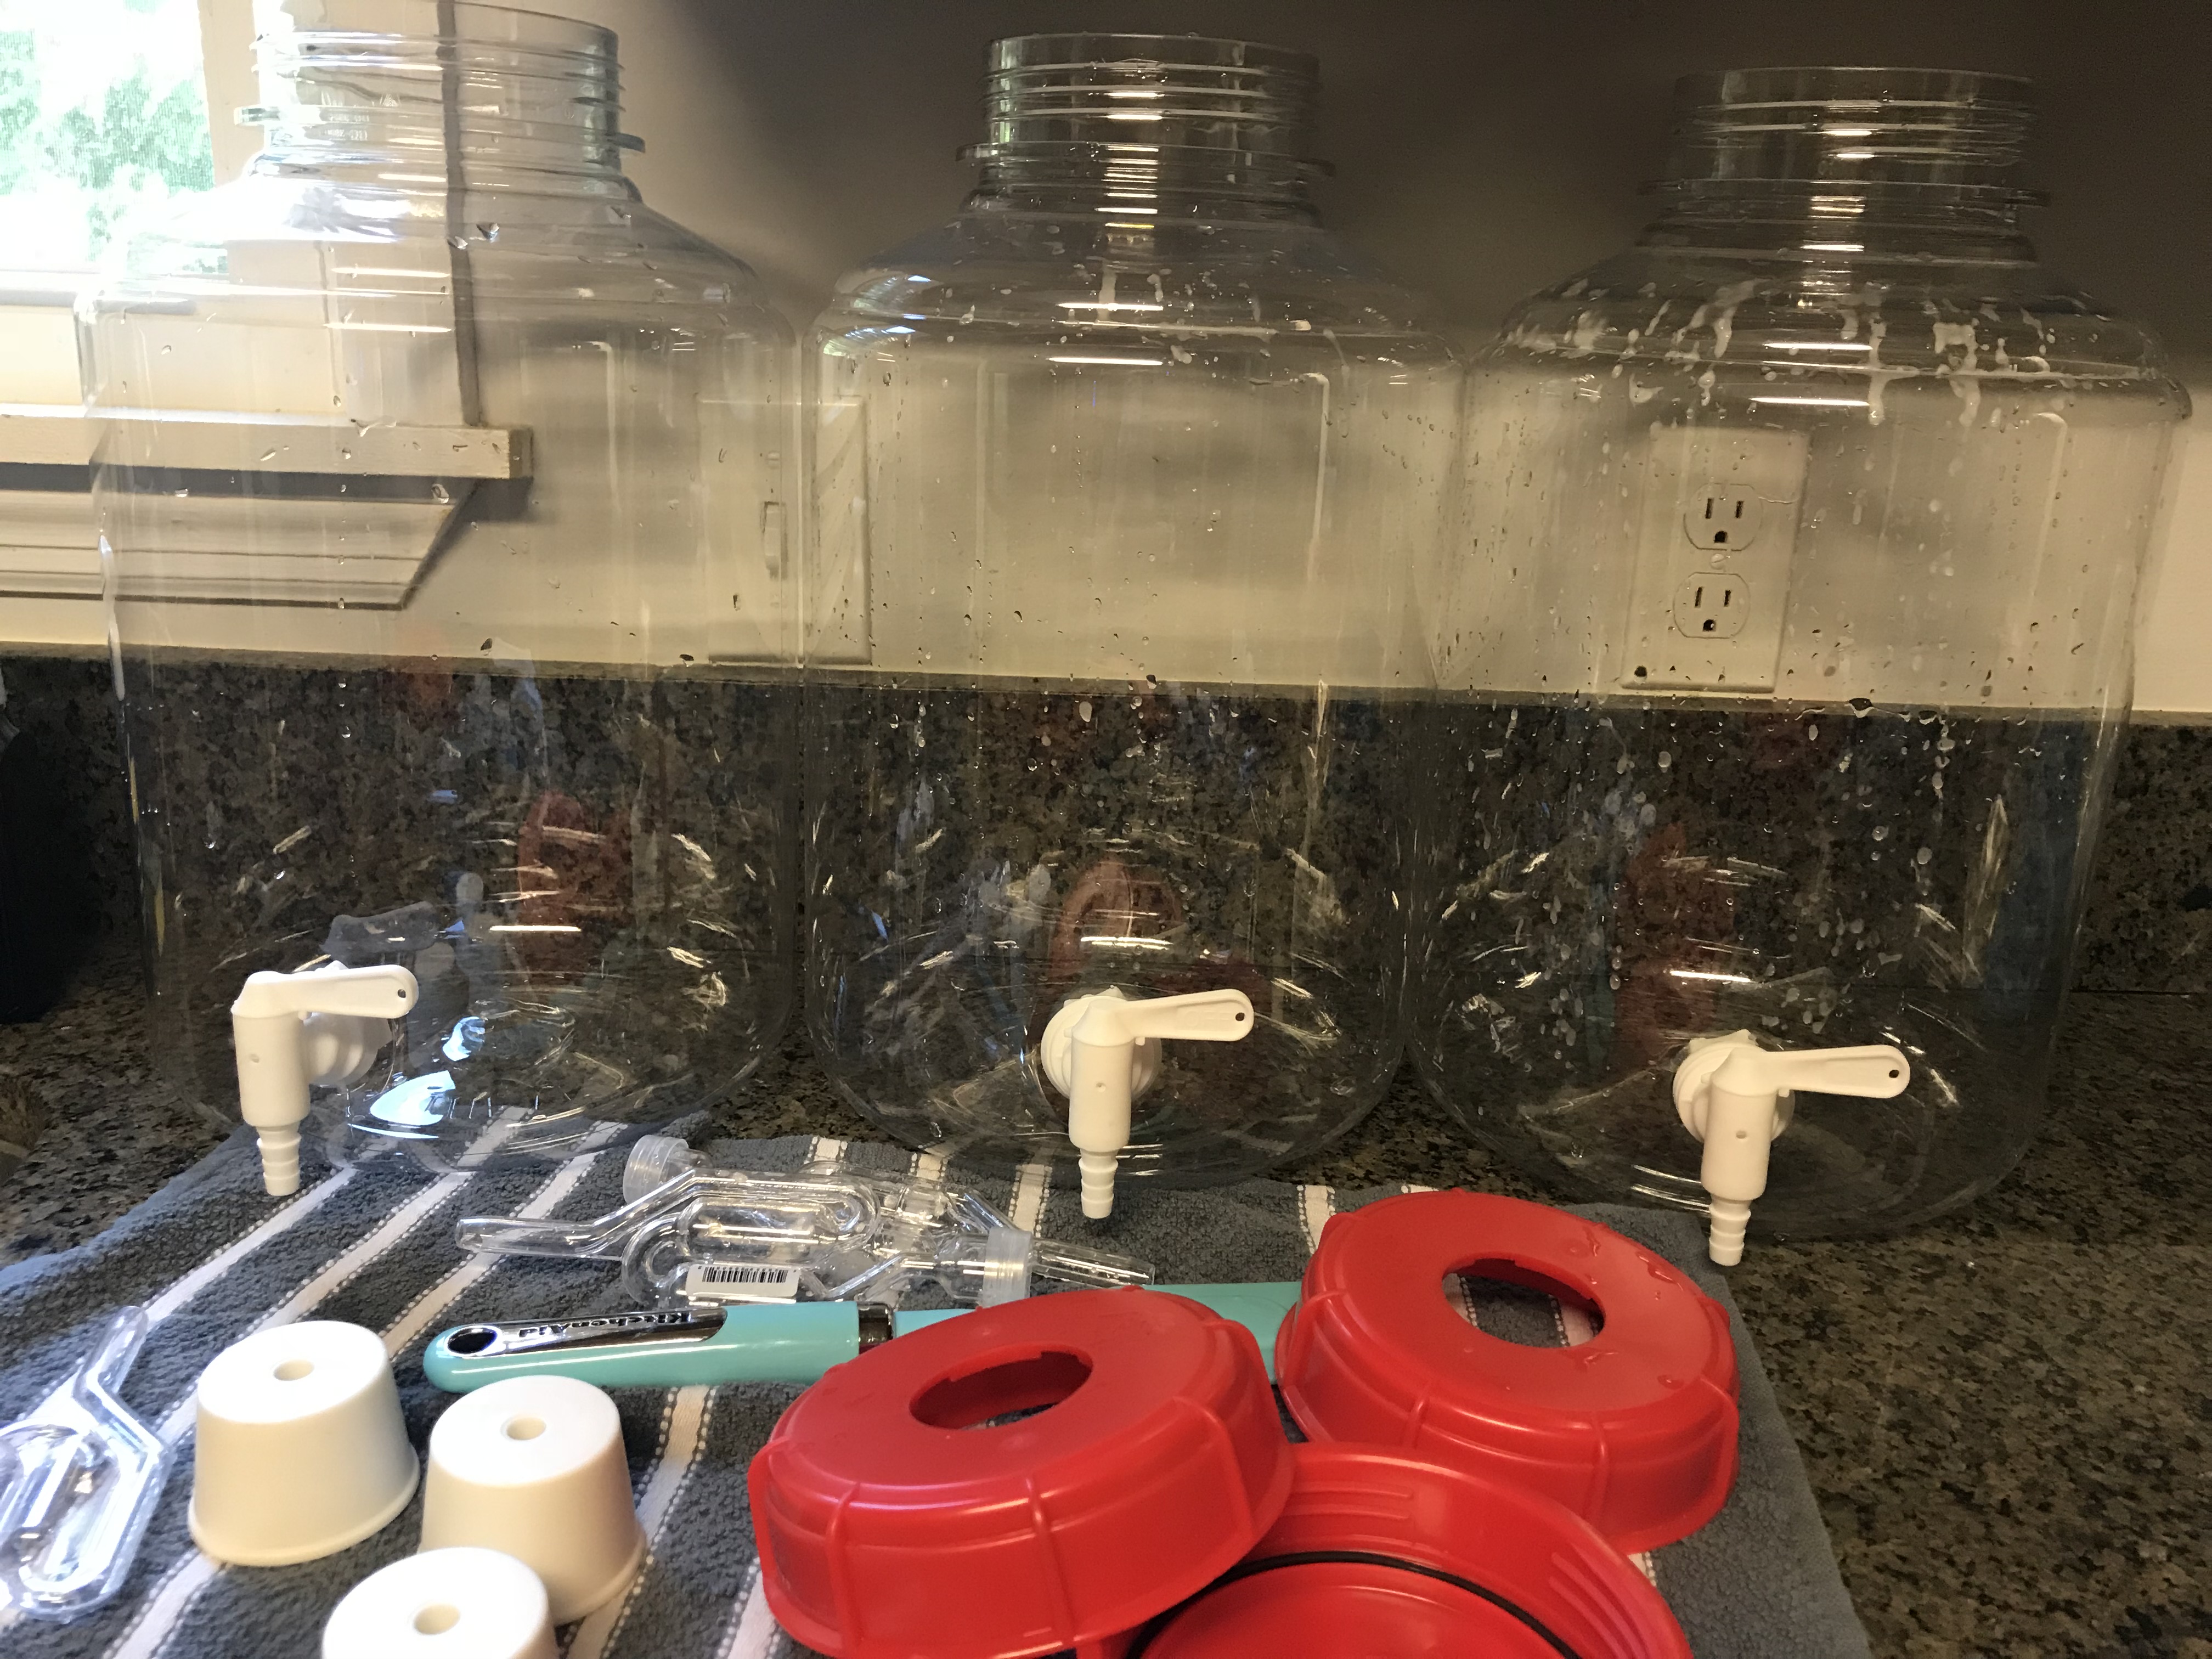
Following straining, you’ll transfer the juice into your primary fermenter. Gallon jugs worked great when we were experimenting and deciding if this process was even worth it, but for Christmas, I received three PET carboys (the above-referenced FerMonsters) and am finally getting to use them! Talk about delayed gratification. What is really nice about these units is that they have extra wide mouths and spigots at the bottom so you can release the wine and hopefully contain the sediment. Stay tuned to see how they work!

Add another two pints of water and 1/3 of the sugar that has been boiled together and allowed to cool into the fermenting container as well. Cap the container so that it is allowed to breathe, and sit and watch the bubbles! Week two recipe is below:
We tripled the recipe in the initial containers and then split them evenly(ish) into two FerMonsters for the remainder of the ferment.
After 7 Days
1. Strain pulp through cheesecloth, wringing the material dry.
2. Pour the strained liquid into a fermenter
3. Boil a second 1/3 of the sugar (apx. 1.65 lbs) in 1 pint water. Allow it to cool before adding it to the fermenter.
4. Plug the top of fermenter to allow breathing.
5. Let the wine sit for ten days.
Happy Making!
Ok, now back to the baby cow!

