Or was that the Mayflower?
I was done with chickens. Really I was. Then there was the cutest chicken coop on Marketplace and, well, here we are. Added to the long list of things I don’t get to be in charge of any more is picking out chicken coops and deciding to buy them in the summer.
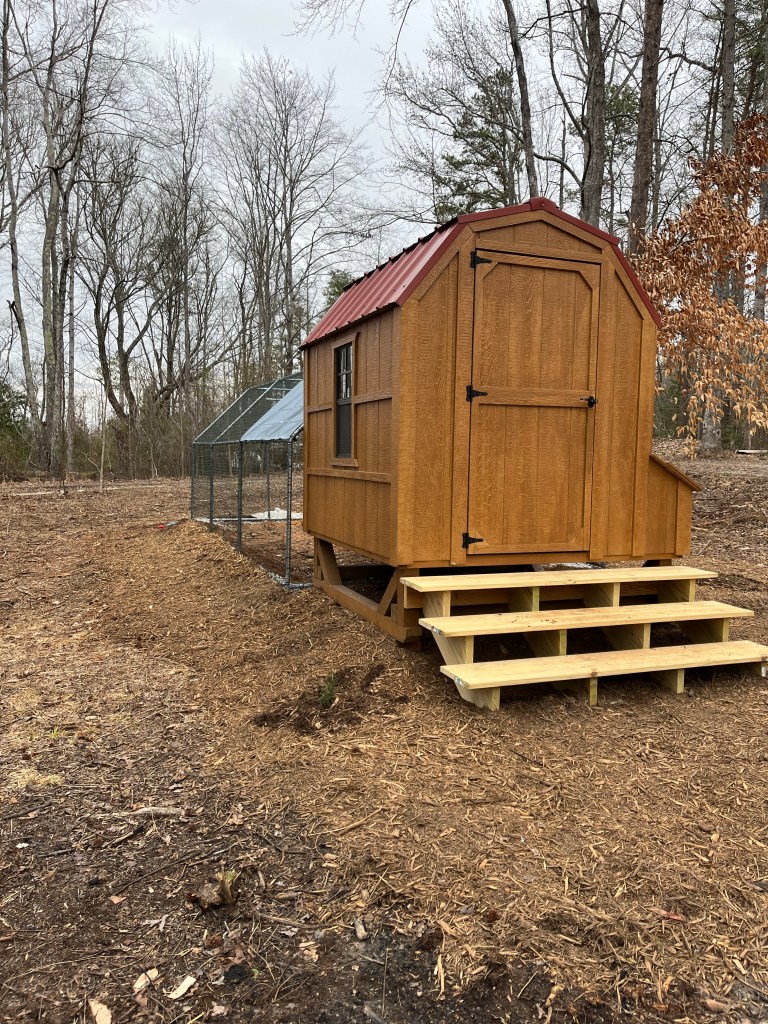
The coop itself is a Leonard Mayberry that someone purchased with a building and subsequently discovered a pack of coyotes in the back yard. Yay discounts for me on a brand new coop. Except. It was July and it was HOT. But, eventually, we got it on the trailer.
Arguably I saved a ton of money last year by leaving it on the trailer all summer/fall/winter and not being able to buy other goodies. So really, I’m the hero here.
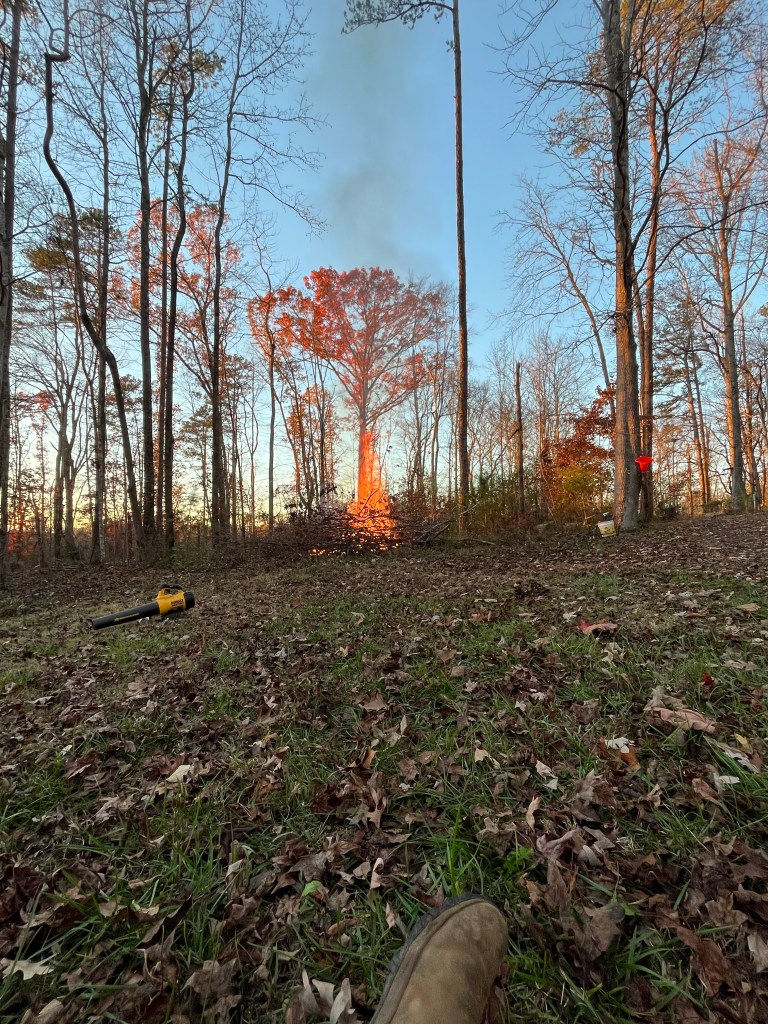
Why did it stay on the trailer? Because, despite having a decent sized plot of land, there was really nowhere ideal to put a chicken coop that wouldn’t be in the way of other planned progress. Finally, we settled on a spot. The only problem was, there were already trees both up and down to contend with.
After the lot was cleared, we rolled the coop off the trailer, which was the easiest part of this entire project by far. Once where we wanted it, the coop had to be shimmed and leveled. I love being in the foothills, until we need level ground (remember that round pen adventure?).
Next, for the run. We have an over abundance of predator animals and between them and free range chickens attacking the flower beds, they are safest from coyotes and my wrath in an enclosed space.
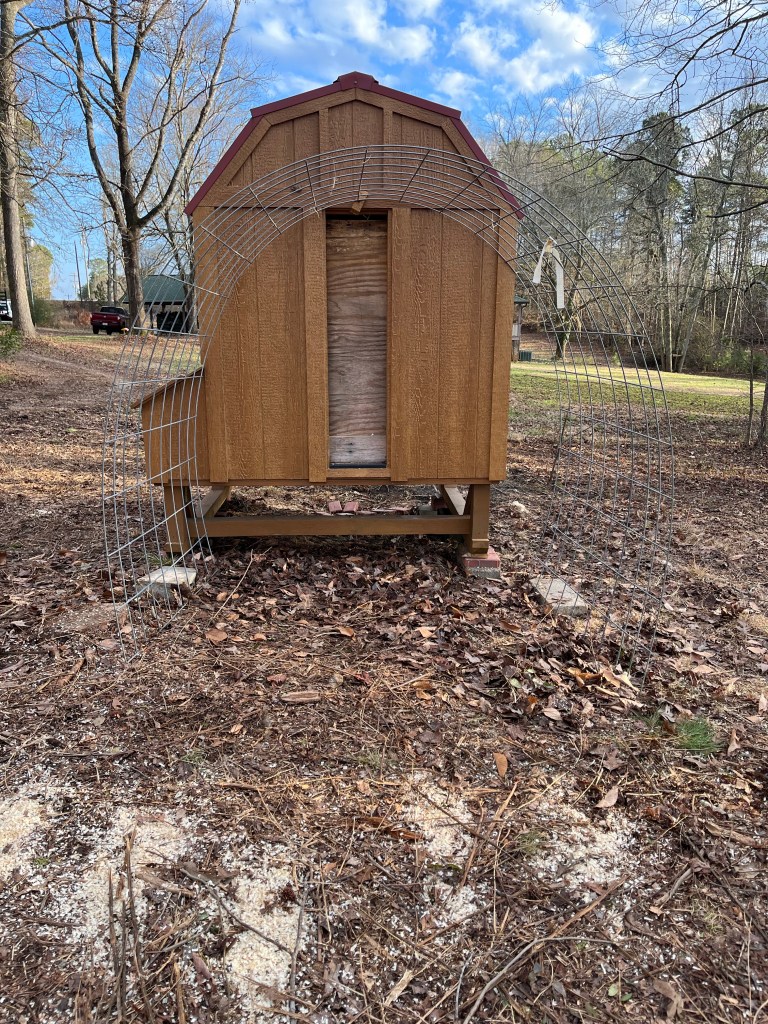
Our initial plan was for a hoop coop out of cattle panels. The problem was that the top of the hoop had to clear the now raised and leveled doorway and to do so would have made the run only 6-7 ft wide. Have you priced out cattle panels recently? Next.
Other options included scratch built (even more $$$ than cattle panels) or buying a pre made run, which is what we ultimately went with. Here is the one we picked.
Though we grabbed an 18’ something, I see they are sold out of all but small runs now. For $350 or so and 150ish sq. Ft., it seemed like a good call.
Assembly of the metal frame was easy, but either they had half the legs shorter that the others or we were on a hill. If nothing for simple aesthetic, the run needed to be somewhat level. Which is where the adventure really began. Initially, we used bric-a-brac to build up the corners and level the run, which put the low side a foot of better off the ground. Sigh.

After going back to the drawing board, we:
Dug put the high side/releveled the low (dropping to about an 8” gap, still fat raccoon shimmy worthy), added some leftover block around the low side and backfilled with gravel. The gravel also stood as a base to hold the run level;
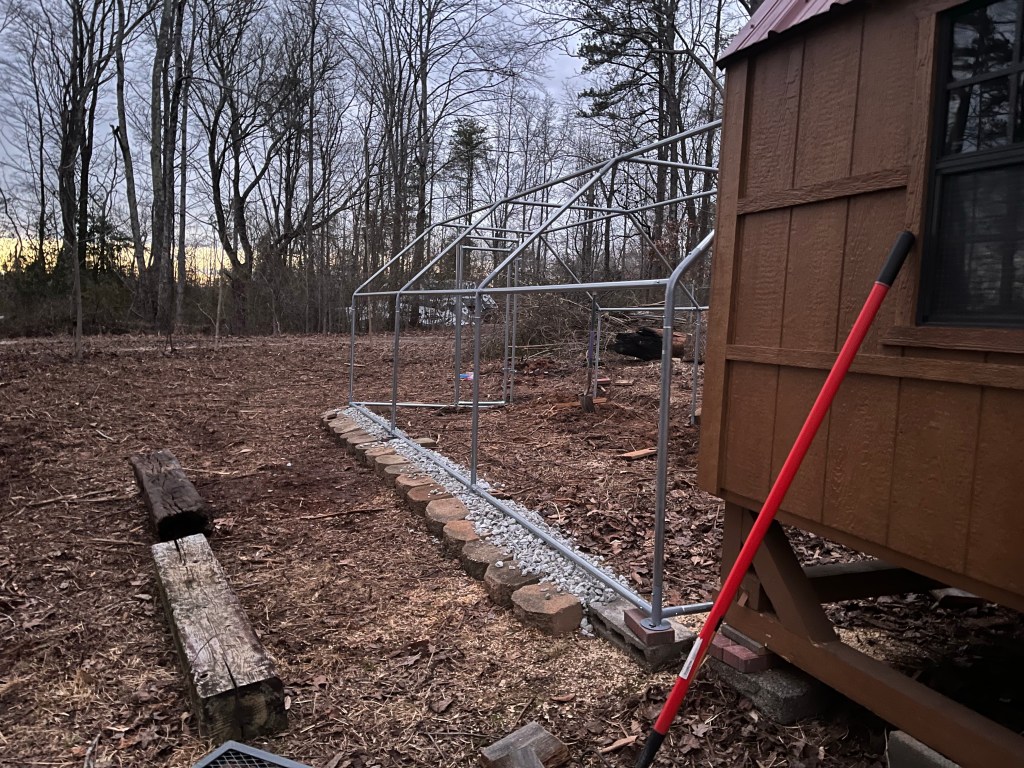
Here’s the really clever part: we added a chainlink skirt that transects into the run from an old fence we’ve been meaning to tear down and pinned it down with landscape pins; Anchored the run with threaded rods driven into the ground and used nuts to fine tune leveling (not my brilliance, but it was brilliant all the same); then added two support poles to the cross beams.

FINALLY we added chicken wire attached with rebar ties, dirt on top of the chain link, mulch for aesthetic, and boards to cover the back door gap.


After all this, I just know I’m gonna have to come back and say that a mink dug under the mulch, into the dirt, went through a gap in the chainlink, tunneled across the rock with a spoon and into the run to eat a chicken in the not so distant future. But, we tried.
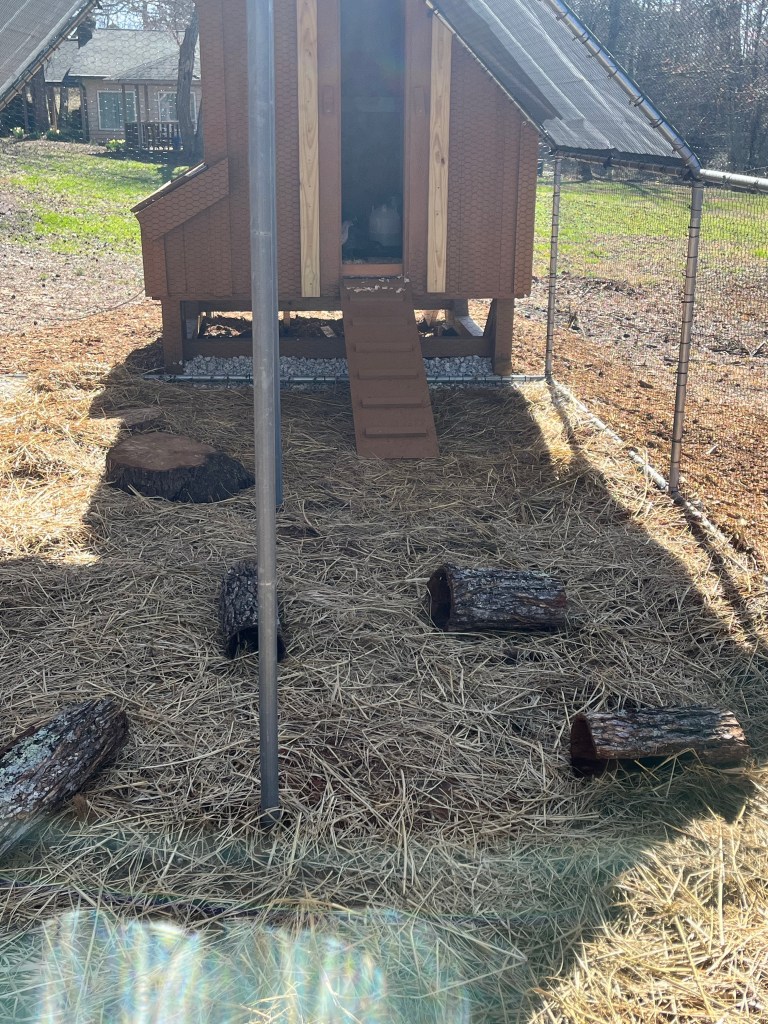
The final product looks fantastic (I can brag about it, because it wasn’t me who engineered the process, I’m just hired help) and we are now making several trips a day to check on the “chick chicks.” This set up can hold 10 layers but we need only 4 for now and will divide the run for meat birds this fall for 7 weeks or so.

Very interesting!😍
Sent from my iPhone
<
div dir=”ltr”>
<
blockquote type=”cite”>
LikeLike